In today’s digital age, apps are at the heart of everything we do. Ranging from ordering food to managing our finances, staying connected with loved ones, or even working out, apps are everywhere. The idea of creating your app can be exciting. However, it can be a daunting task for beginners. Several questions arise on how to code an app. Where do you start? What programming languages should you learn? What tools do you need?We’ll tell you everything. At TurboAnchor Training, we’ve guided countless beginners through the complexities of app development, ensuring their success in the digital world.
With years of industry experience, this guide is designed to walk you through the basics of app development, providing a clear, step-by-step path from concept to creation. By the end of this guide, you’ll have a solid foundation to start coding your very own app.
Understanding App Development
App development is the process of creating software applications that run on mobile devices or desktops. These applications are designed to perform specific tasks, solve problems, or entertain users. App development involves writing code, designing user interfaces, testing the app, and ultimately, deploying it to app stores or directly to users.
Types of Apps
Before knowing how to code an app, it’s essential to understand the different types of apps you can create:
- Native Apps
These are built specifically for one platform (iOS or Android) using the platform’s native programming languages (e.g., Swift for iOS, Java/Kotlin for Android).
- Hybrid Apps
These apps are built using web technologies (like HTML, CSS, and JavaScript) and wrapped in a native container. This allows them to run on multiple platforms.
- Web Apps
These are responsive websites that look and feel like apps but run in a web browser.
Choosing the Right Programming Language
The choice of programming language depends largely on the platform you’re targeting:
- Swift is the primary language for iOS development. It is known for its speed and safety.
- Java has been the long-standing language for Android development.
- Kotlin is a newer language that offers more modern features and is now officially supported by Google.
- JavaScript is often used with frameworks like React Native or Angular to create cross-platform apps.
While choosing a programming language, consider the following factors:
- What platform are you building the app for? Swift is best for iOS, while Kotlin is preferred for Android.
- For a simple app, JavaScript with a framework like React Native might be sufficient. For a more complex app, native languages like Swift or Kotlin may be better.
- If you’re a beginner, start with a language that has a large community and plenty of resources, like JavaScript.
Setting Up Your Development Environment
Before you start coding, you should first set up your development environment. Here are the essential tools:
- IDE (Integrated Development Environment):
- For iOS, you’ll use Xcode, Apple’s official IDE.
- For Android, Android Studio is the go-to choice.
- Emulators allow you to test your app on a virtual device. Both Xcode and Android Studio come with built-in emulators.
- Download the relevant SDKs for the platform you’re developing for (e.g., iOS SDK, Android SDK).
Suggested Read: How to Design a Website From Scratch: A Step-by-Step Guide
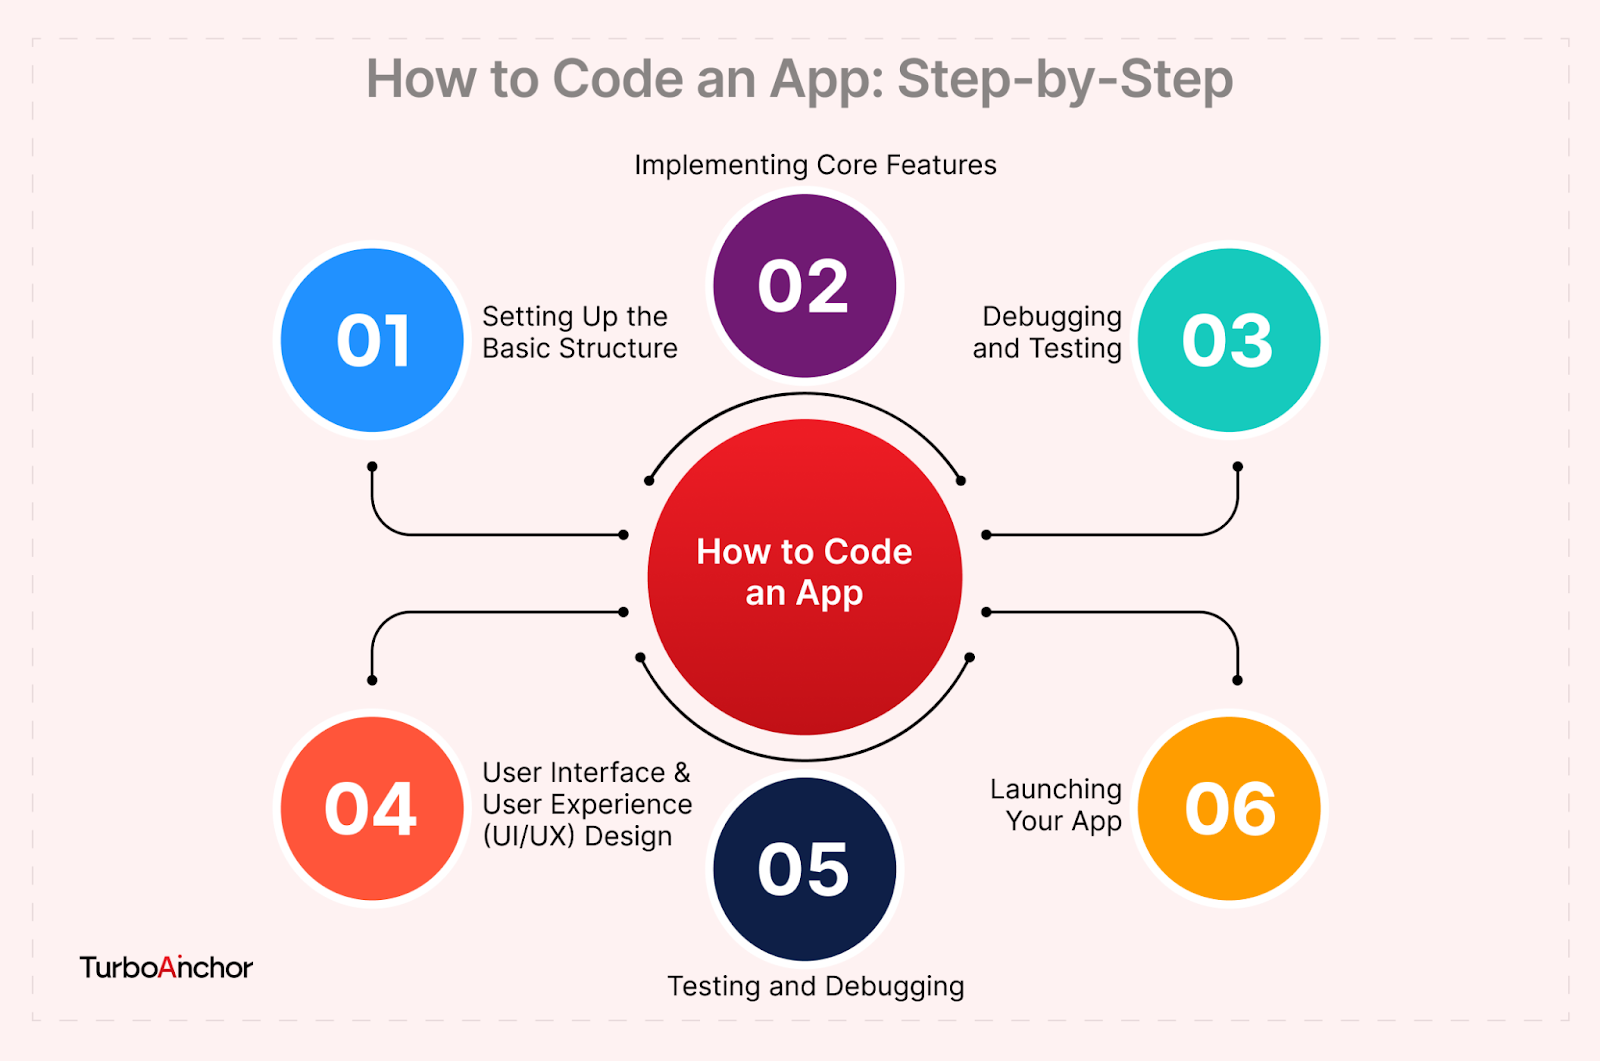
How to Code an App: Step-by-Step
Before you write a single line of code, you need a clear understanding of what your app will do. Creating a feature list will help you stay focused during development. For example, if you’re building a to-do list app, your core features might include task creation, task categorization, and reminders.
Setting Up Basic Structure
Now that you have a complete plan, it’s time to start coding. Begin by setting up the basic structure of your app:
- Open your IDE and create a new project. Choose the appropriate template based on your app type (e.g., “Single View App” for a simple iOS app).
- Use the interface builder (e.g., Storyboard in Xcode, Layout Editor in Android Studio) to design your app’s main screen.
- Start by writing the basic code that sets up your app’s main functionality.
Implementing Core Features
As you progress, focus on implementing the core features you identified earlier. Break down the development process into smaller tasks:
- Code the UI elements like buttons, text fields, and images.
- Write code to handle user interactions, such as tapping buttons or entering text.
- Implement the logic that powers your app. This includes creating new tasks in a to-do list app or fetching data from a server.
Debugging and Testing
Testing your code is crucial. Here’s how to ensure your app works as intended:
- Use the debugger in your IDE to identify and fix errors in your code. Set breakpoints to pause the execution and inspect variables.
- Run your app on the emulator or a physical device to test its functionality. Make sure all features work as expected.
User Interface and User Experience (UI/UX) Design
Several tools can help you design your app’s UI/UX:
- Sketch is a popular tool for designing interfaces and creating prototypes.
- Figma is a web-based design tool that allows for collaborative design work.
- Adobe XD, is a powerful tool for UI/UX design, especially if you’re already familiar with Adobe products.
Once you’ve designed the UI/UX, the next step is to implement it in your code. This involves translating your wireframes and prototypes into code, using the UI components provided by your platform (e.g., UIKit for iOS, XML layouts for Android).
Testing and Debugging
Testing is critical to ensure your app is reliable, functional, and user-friendly. It’s important to test your app thoroughly before launching it to the public.
Types of Testing
There are several types of testing you should perform:
- Unit Testing tests individual components or functions of your app to ensure they work correctly.
- Integration Testing tests how different parts of your app work together.
- User Testing has real users who test your app to identify any usability issues.
Tools for Debugging
Debugging tools are essential for finding and fixing issues in your code. Both Xcode and Android Studio come with built-in debugging tools. They allow you to step through your code, inspect variables, and fix errors.
Launching Your App
Before you launch your app, there are several important steps to take:
- Perform a final round of testing to catch any last-minute bugs.
- Ensure your app runs smoothly on all supported devices.
- Prepare screenshots, promotional text, and a press kit to promote your app.
Now your app is ready to be published. It is the final step in the development process:
- For iOS, submit your app to the Apple App Store through Xcode. Your app will go through a review process before it’s approved.
- For Android, submit your app to the Google Play Store through the Google Play Console.
The tech industry moves quickly, and new tools and technologies are constantly emerging. Stay updated by following tech blogs, attending conferences, and participating in developer meetups.
Bottomline
Coding your first app can be a challenging task, yet a rewarding experience. Following this guide will help you pave way towards becoming an app developer. Remember, practice makes the man perfect. Perseverance is the key to success.
Keep learning and don’t be afraid to experiment with new ideas. With dedication and effort, you’ll be well on your way to creating amazing apps that users will love.